Google Workspace Directory Integration with Infisign
Step:1
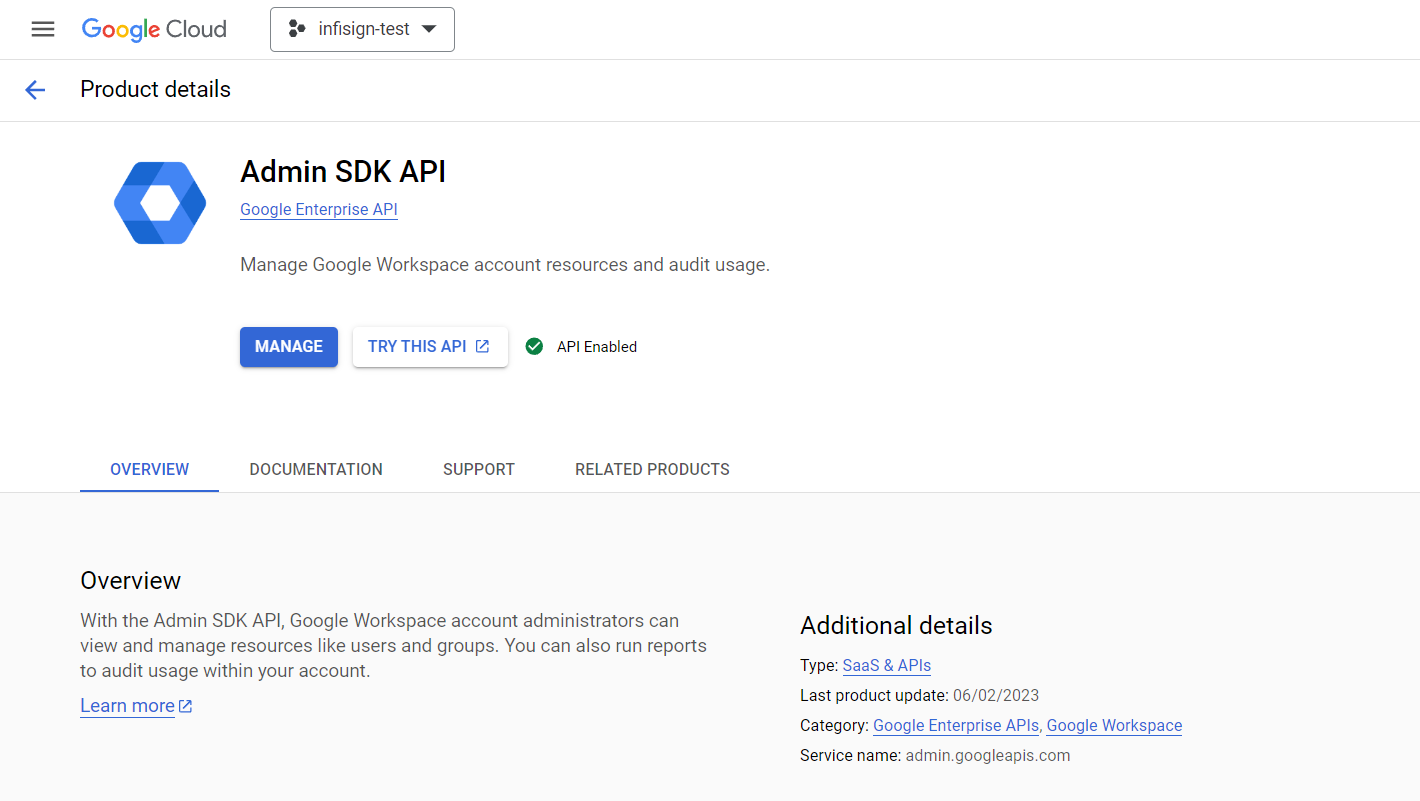
a. Enable the Admin SDK API in the Enabled APIs and services
b. Log in to the Google Cloud Console.
Link - https://console.cloud.google.com/
Step:2
a. Search “APIs and Services”.

b. Click the Create Credentials button & Select the Service Account.

Step:3
a. Give the name for the Service account & then, Click Create and continue.

b. Leave the default and Click Continue.

c. Leave the default and Click Done.

Step:4
a. Under the service account you can see the Service account that you created, Now click for generate the JSON

b. Navigate to KEYS tab.

c. Click the Add Key and select Create new key.

d. Select the JSON and click create and then It will automatically download the credentials.json file.

Step:5
a.Now login in to this Url [ https://admin.google.com/ ]
b. In the side menu, Select [ security → Access and data controls → API controls] .
c. Select Domain-wide delegation.

d. Now Click Add new button.

e. Paste the Client Id that You can get from the JSON downloaded.

f. Add the below scopes there.
[ https://www.googleapis.com/auth/admin.directory.user]
[ https://www.googleapis.com/auth/admin.directory.group ]
and then, Click AUTHORISE.

Note : Above all procedures can be done through Google workspace superAdmin only.
Step 6:
Once all the above configuration is completed as "Super Admin" Log into the Infisign Portal as portal Super Admin to make the Directory Integration configuration
Step 7:
The Admin should navigate to Directory, then to Directory Integration, and click on Add Directory.

When the "Add Directory" option is clicked, a page will be displayed. Select the "Google Workspace" option, click "Next," and then proceed.

Step 8:
Upload the JSON configuration file. Once uploaded, the Client ID will be automatically fetched.
Enter the email address of the GWS Super Admin.
(If Required) Enable Auto Revocation for the User Identities, enabling this toggle will revoke a user identity if not found in the source directory, this will lead to revoking the user access from all assigned apps and systems

After completing the above steps, the "Test Config" button will be enabled. Click this button to verify the configuration.
Once the configuration is verified, click the "Sync Directory" button to sync the details and then click Next

Step 9:
Now for the User Mapping Select the Default Schema and Map the Attributes from Infsign to GWS and click Next

Step 10:
Select the scheduler type to proceed and then click Next

Step 11:
Click the button "Save and Complete" to sync the directory and now the users will get and invite to do the Onboarding and the Users invited will be in the User list view page
