SAML 2.0 Configuration for Tableau Creative Cloud to Infisign
Step: 1
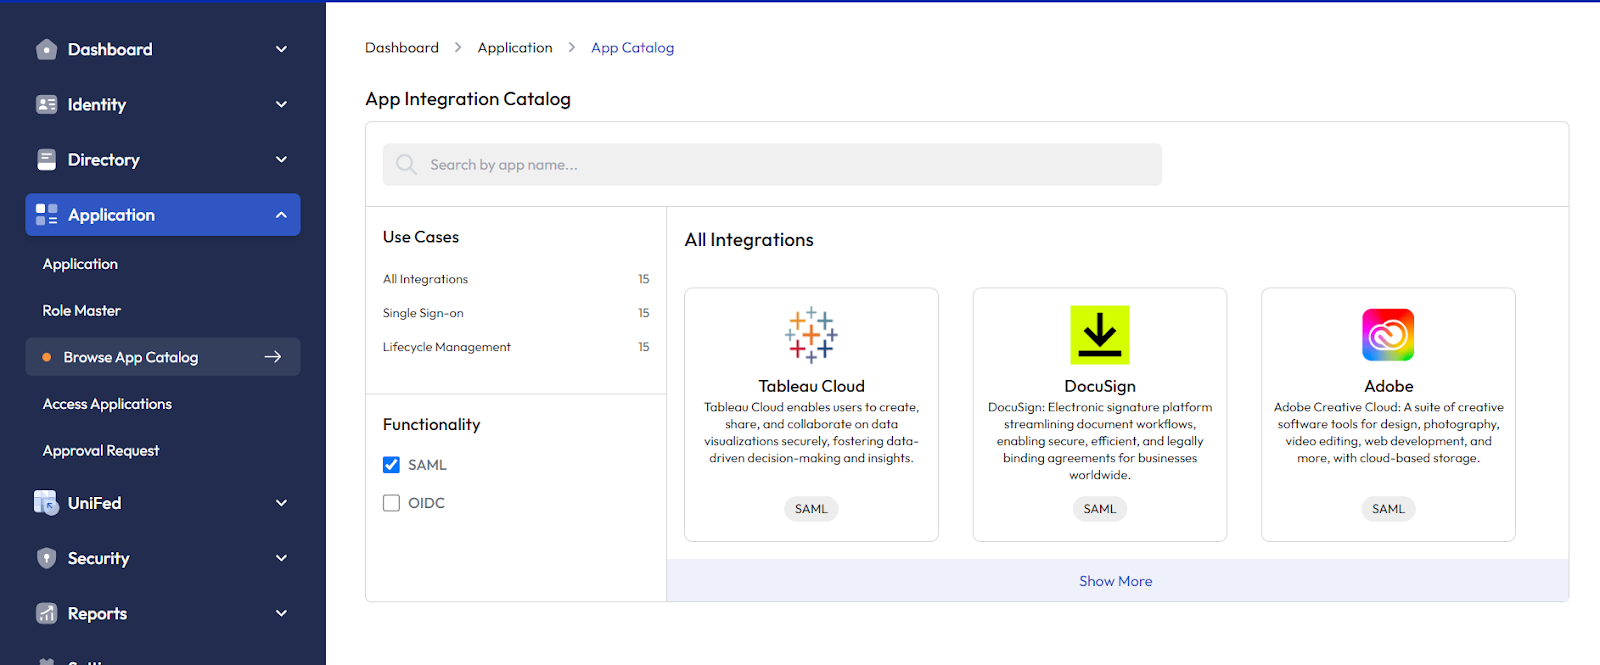
Sign in to Infisign with the Admin Login Credentials. Now in the Dashboard Screen, Click on the Application > Browse App Catalog page will direct you to the Browse App Integration Page and select Tableau Cloud application
Step 2:
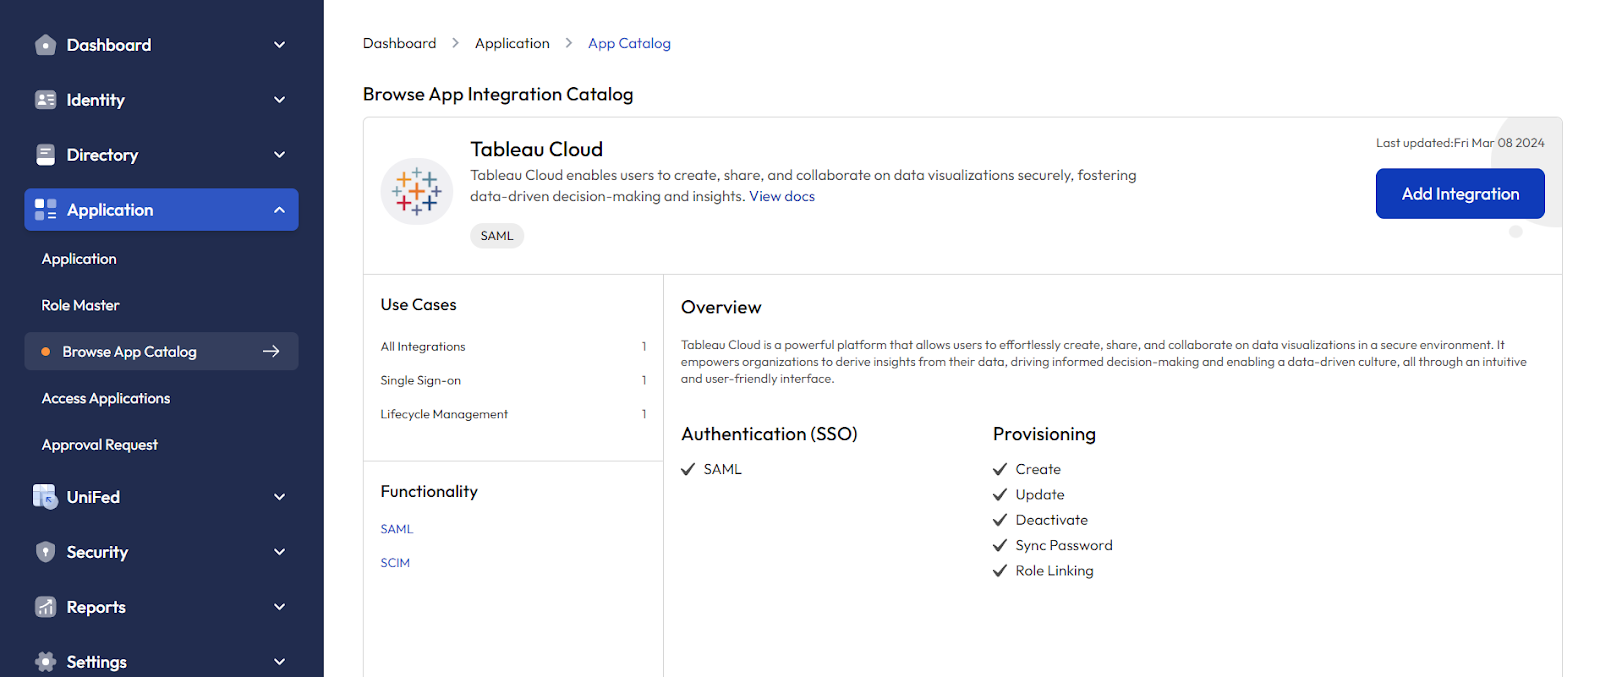
Click on Tableau Cloud to proceed for Application Integration. Once clicked and proceeded will be directed to the Tableau Cloud Integration page here click the “Add Integration” button to proceed.
STEP 3:
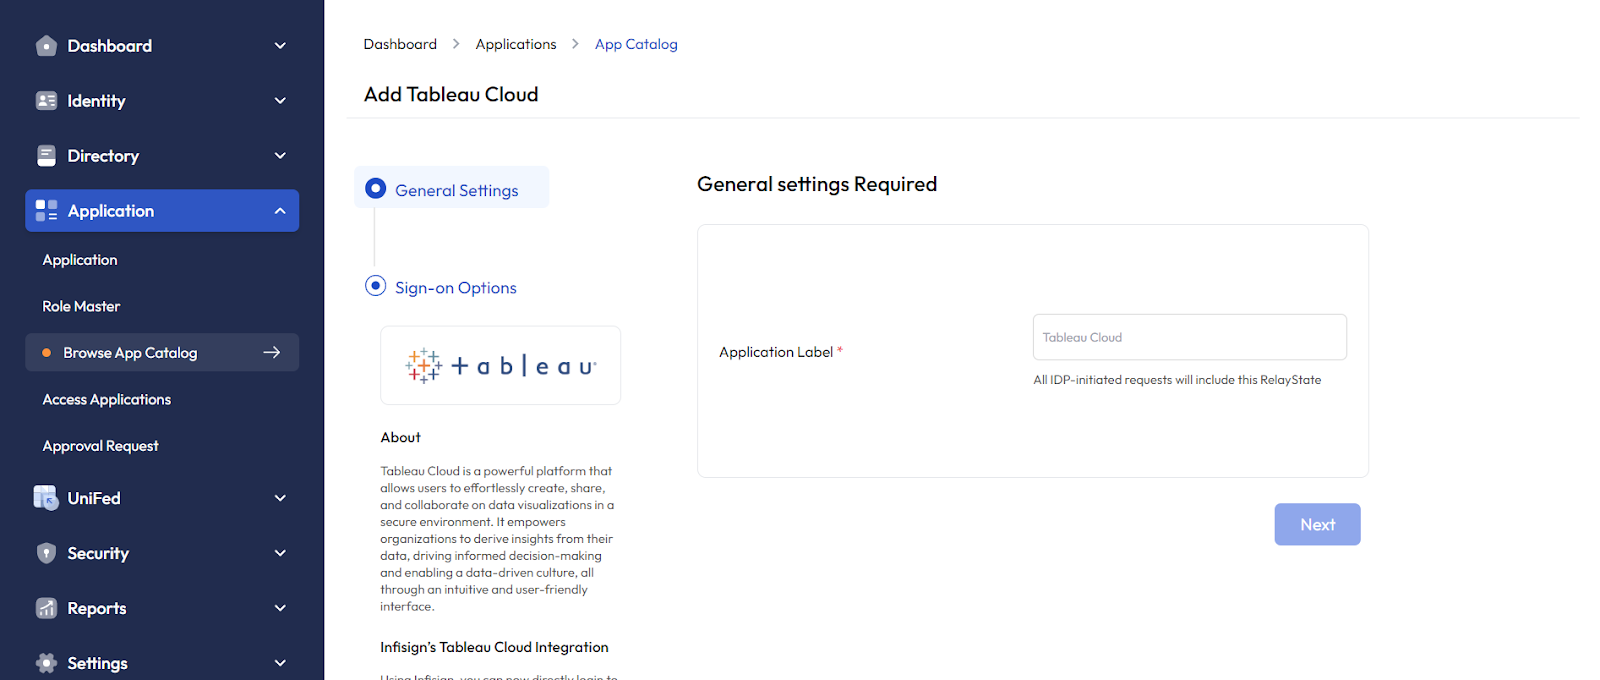
Enter the Application Label Name and Click Next. This will direct you to the Sign-on option page.
STEP 4:
Upload the Metadata XML and paste App login URL from the Tableau Cloud.

Step 5:
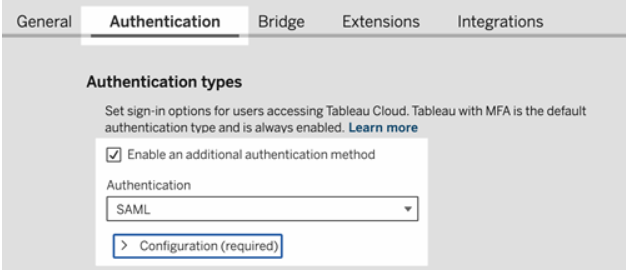
Sign in to your Tableau Cloud site as a site administrator, and select Settings > Authentication.
In the Authentication tab select the Enable an additional authentication method check box and now select SAML and then click the Configuration (required) drop-down arrow.
Step 6: Export metadata from Tableau
To create the SAML connection between Tableau Cloud and your IdP, you need to exchange required metadata between the two services. To get metadata from Tableau Cloud, choose one of the following methods. See the IdP’s SAML configuration documentation to confirm the correct option.
Select the Export Metadata button to download and upload it on Infisign as in step 4

Step 7: Import IdP metadata to the Tableau siteOn the Authentication page in Tableau Cloud, import the metadata XML file that you downloaded from the IdP or configured manually from XML it provided.

Step 8: Now Match attributes section, update the values in the IdP Assertion Name column as follows
Username : emailId
Full name : full_name
App Login URL :https://sso.online.tableau.com/public/sp/SSO/
Step 9: After updating all the required field, click the button " Save Changes"
