SAML 2.0 Configuration for Adobe Creative Cloud to Infisign
Step: 1
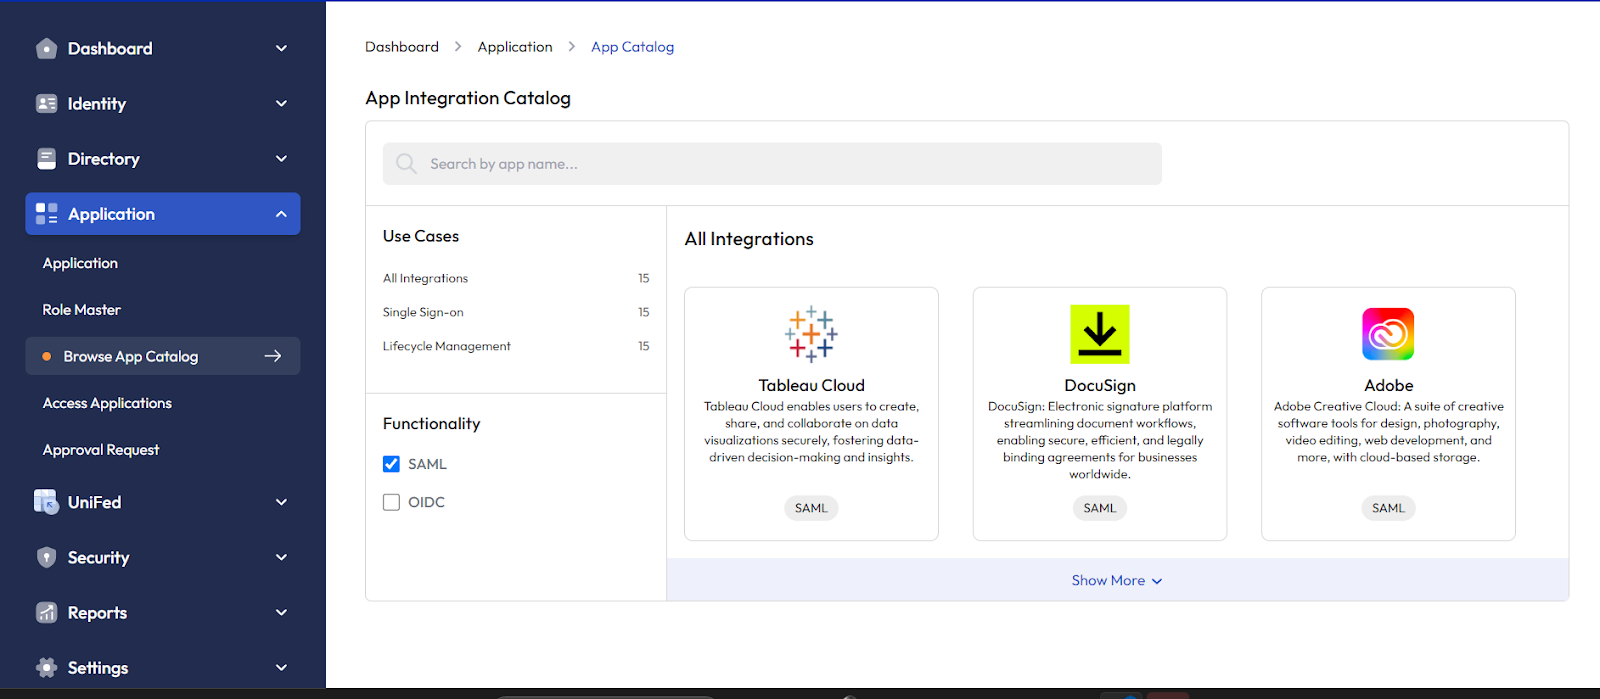
Sign in to Infisign with the Admin Login Credentials. Now in the Dashboard Screen, Click on the Application > Browse App Catalog page will direct you to the Browse App Integration Page and select Adobe.
Step 2:
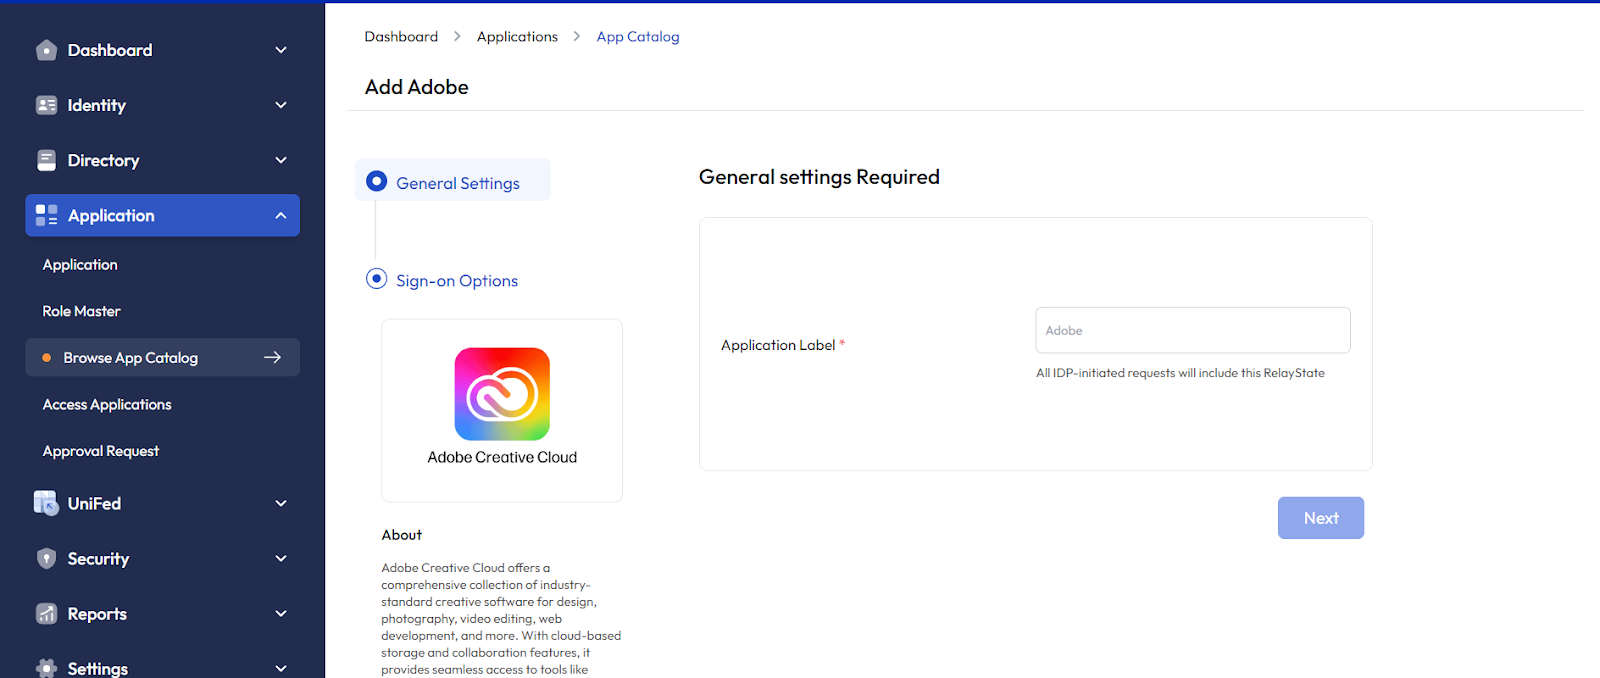
Click on Adobe to proceed with the Application Integration. Once clicked and proceeded, you will be directed to the Adobe Integration page here click the “Add Integration” button to proceed.

Step 3:
Enter the Application Label Name and Click Next. This will direct you to the Sign-on option page.
Step 4:
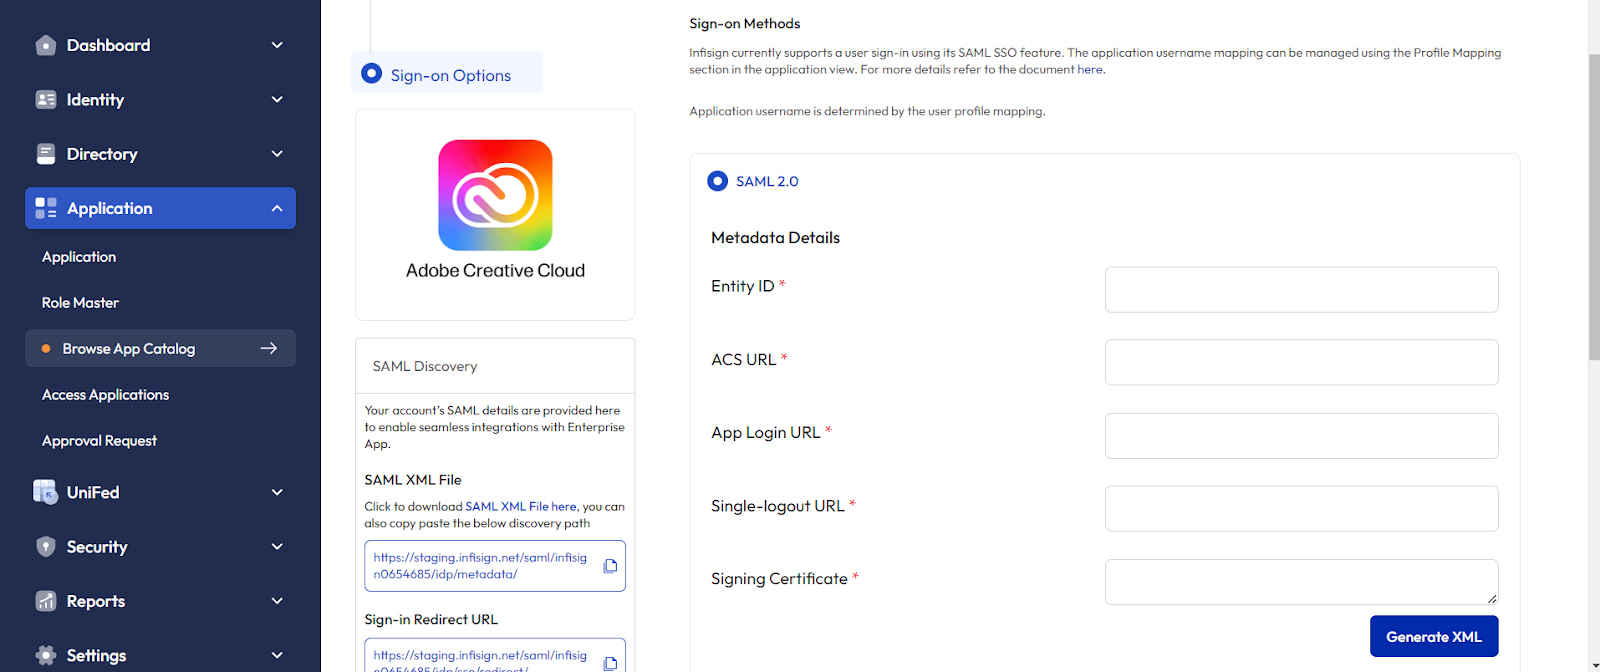
Enter the App Login URL -- http(s)://{AdobeCreativeCloud}/login/callback
The Entity ID, Acs URL, Single Logout URL & Signing certificate you can get from the below step.
Step 5:
Configure SSO in Adobe Creative Cloud Admin Console
Now login to Adobe Sign as an administrator.
Navigate Account > Account Settings > SAML Settings:.

Step 6:
For SAML Mode, choose either SAML Allowed or SAML Mandatory
Enter a dedicated Hostname value.
In the User Creation section:
Check the Automatically add users authenticated through SAML checkbox in order to enable SAML-based provisioning.
Optional: Check the Automatically make pending users in my account active checkbox.
Step 7:
In the Identity Provider (IdP) Configuration section, enter the following:
SAML Identity Provider EntityID (Issuer) -- paste Infisign SAML XML File value.
SAML Identity Provider SSO URL -- paste Infisign Sign-in Redirect URL Sign-in Redirect URL.
SAML Identity Provider Certificate -- paste Infisign X.509 Certificate here, including the -----BEGIN CERTIFICATE----- and -----END CERTIFICATE----- lines.
Copy the Adobe Service Provider Details like (Entity Id, Sp certificate, ACS URL, Single Logout URL ) and paste it on the infisign (step 4).