Custom Portal Login - Setup Guide
Admin Panel Login
Adding a Redirect URL
- In the sidebar, navigate to Configuration.
- Select Redirects from the menu.
- Click Add Redirect.
- Enter the following URL in the Redirect URL field:
https://<urlidentifier>.unifed-unifed.infisign.net/app/callback
- Fill in the required fields and click Save.

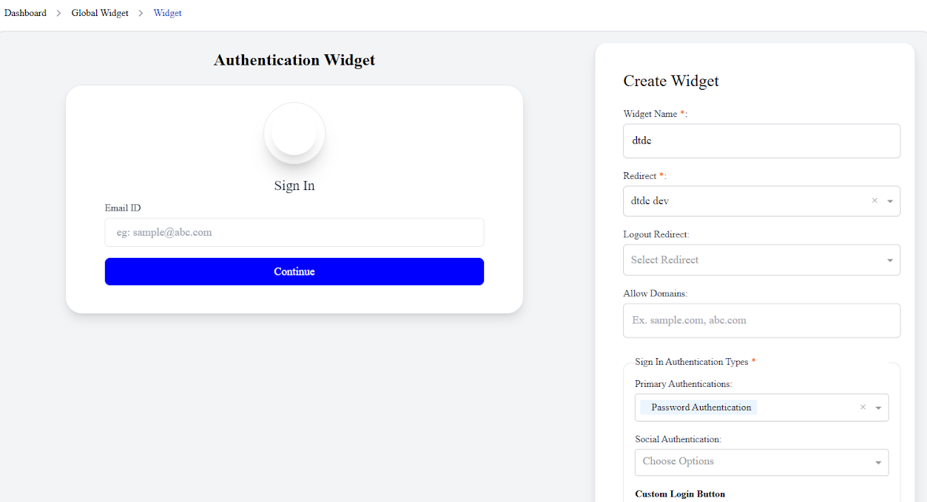
Creating a Widget for Custom Portal Login
- Go to Configuration in the sidebar.
- Select Global Widgets.
- Click Create Widget.
- Choose the previously created redirect for Redirect.
- Fill in the necessary fields and click Create.
Enabling Widget Mapping
- Navigate to Configuration in the sidebar.
- Select Custom Portal.
- Enable Widget Mapping.
- Choose the widget created for the custom portal login.
- Click Save.

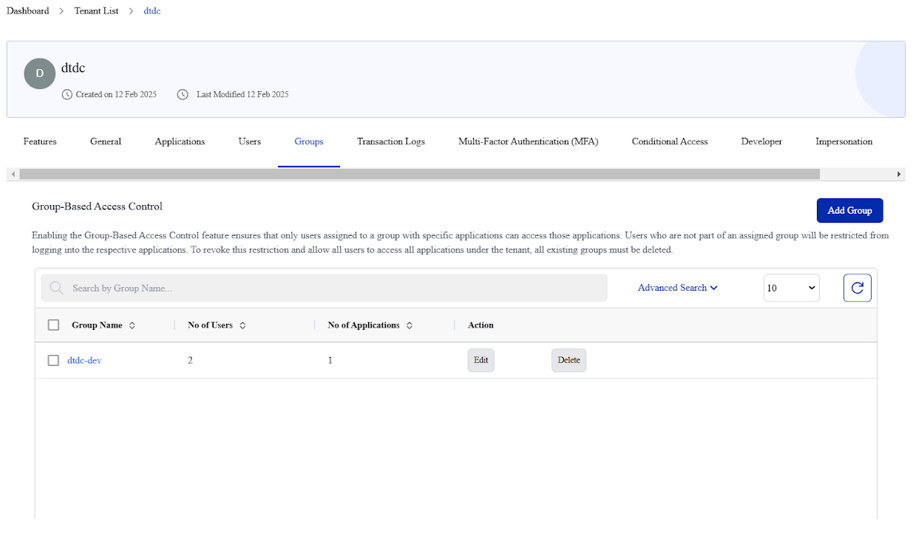
Creating a Group
- In the sidebar, go to Tenant.
- Select Tenant List.
- Click on the Tenant Name.
- Switch to the Groups tab.
- Click Add Group.
- Enter a Group Name and Description.
- Click Create.
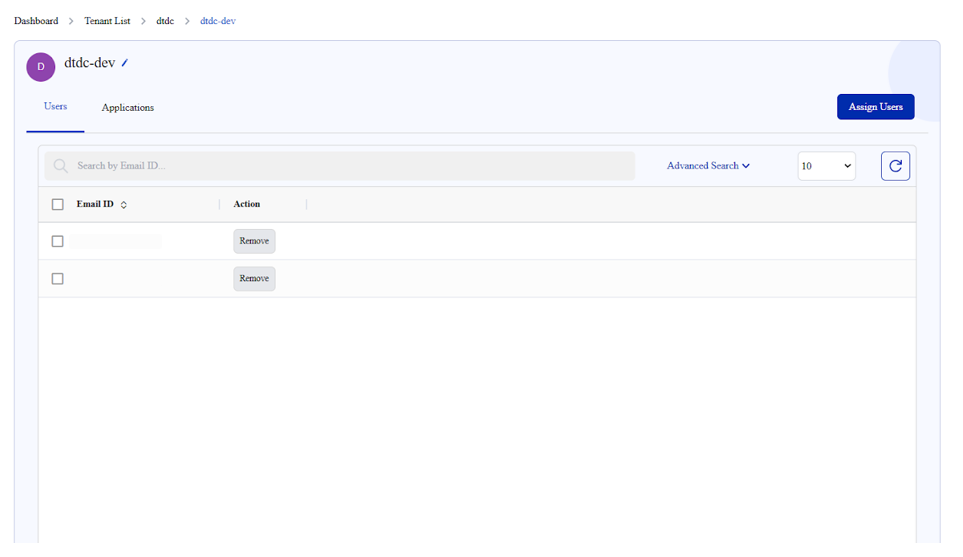
Assigning Users to a Group
- Click on the Group Name.
- Switch to the Users tab.
- Click Assign Users.
- Select the users to assign to the group.
- Click Save.
Assigning Applications to a Group
- Click on the Group Name.
- Switch to the Applications tab.
- Click Assign Applications.
- Select the applications to assign to the group.
- Click Save.

Important Notes
- Group-Based Access Control (GBAC) ensures that only users assigned to a group with specific applications can access those applications.
- Users not assigned to a group will be restricted from logging into the respective applications.
- To remove these restrictions and allow all users access to all applications under a tenant, delete all existing groups.
Accessing the User Dashboard
- Click on the Sub-Domain Copy Icon.
- Paste the copied sub-domain URL into your browser to log in.


