SAML 2.0 Configuration for Netsuite on Infisign
Step 1: Sign on the Netsuite with the user credentials provided
Step 2: Click on the Setup option then navigate and click to the Company and again navigate and click on the Enable features options
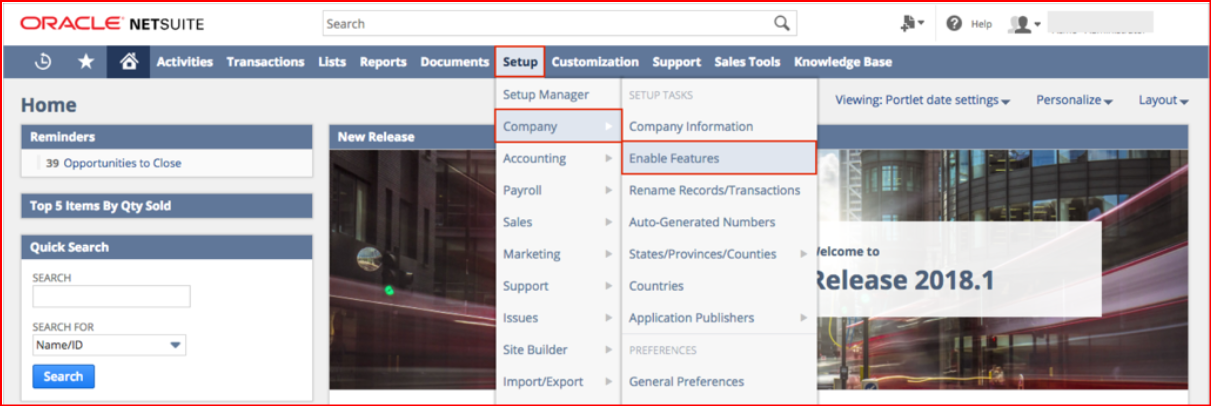
Step 3: Now when the enable features option is clicked a page will display as Enable Features, here click on the Suite cloud option

Step 4: Scroll down on the page Manage Authentication section will be visible, here click the checkbox for “SAML Single Sign-On”

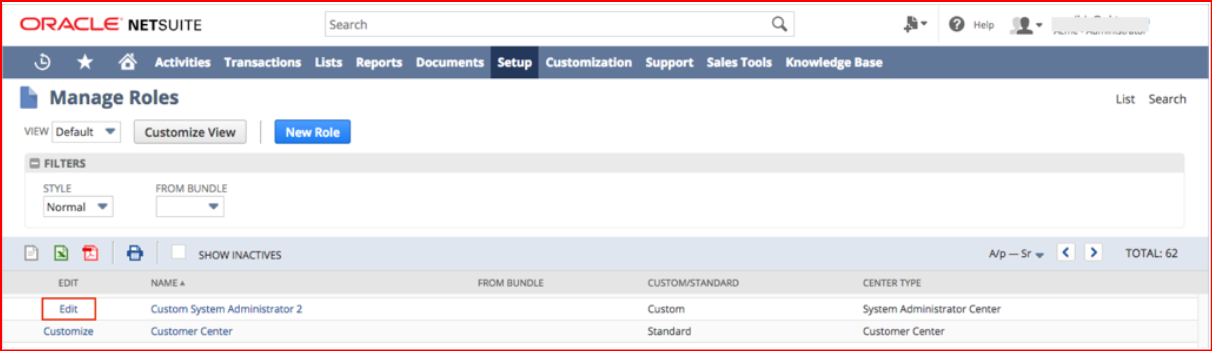
Step 5: Now scroll to the top menu, here select the Setup option when clicked navigate to the User/Roles option when clicked select the Manage Roles option

Step 6: Now When the Manage Roles page is visible, certain roles assigned in your Organization open here now select the Edit option for the role for which you want to enable the SAML
Step 7: Now Scroll down to the same page on the Permissions section and click on the Edit option
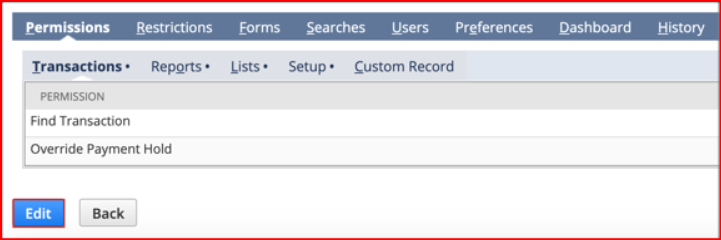
Step 8: Now select the Setup option in the same Permissions section

Step 9: Now select the dropdown when clicked the list above the empty box will display, here select the option Single Single Sign-on, then Add by clicking the ok
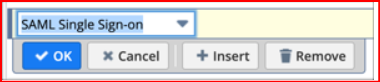
Step 10: Select Set Up SAML Single-on and select the OK button again
Once done both the sections listed with the level Full:

Step 11: Select the Save option to return to the Manage Roles Section
Step 12: Now Repeat the Steps from Step 6 to Step 12 for each role for which the SAML needs to be enabled.
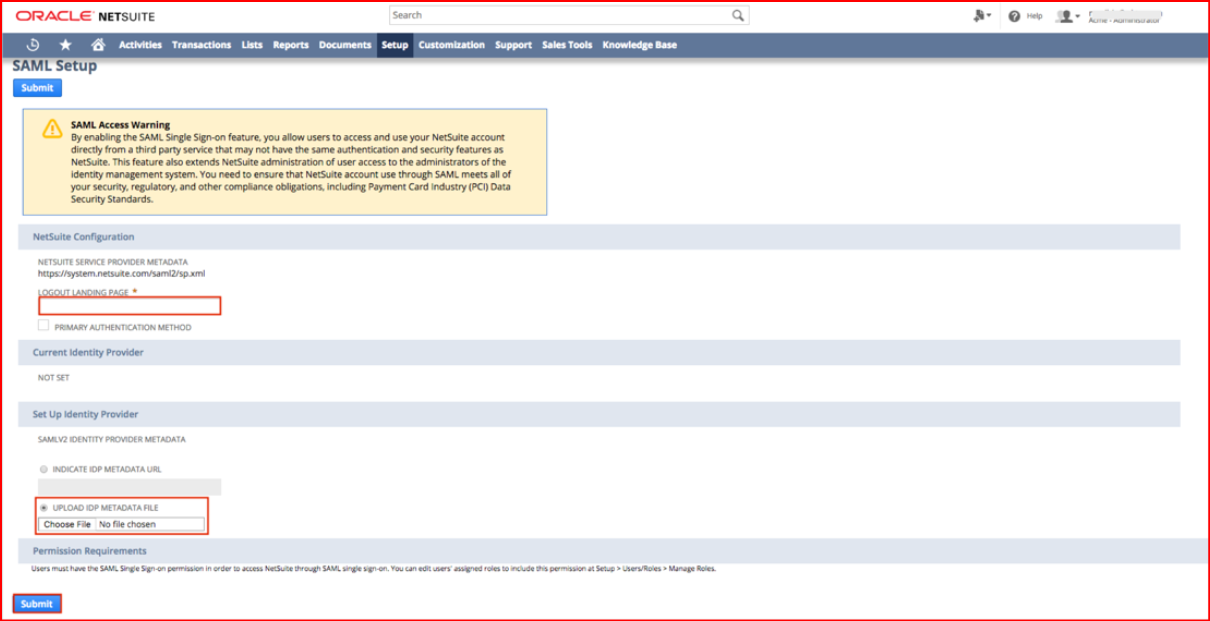
Step 13: Now in the main menu select the Setup option, navigate to the Integration, and when clicked Select the SAML Single Sign-On option.

Step 14: Once when the SAML setup page is opened, Enter the following
Logout Landing Page : copy and paste the following data given below
Upload IDP metadata File : Save the following metadata in a file named metadata.xml.
Upload IDP metadata file, then Choose File to locate and upload the metadata.xml file you just created
Now click on the Submit button
Step 15: Now click on the setup option in the top menu navigate to the company option and then click on the company information

Step 16: Make a copy of your Netsuite Account ID highlighted in red box space

Step 17: Sign in to Infisign with the Admin Login Credentials
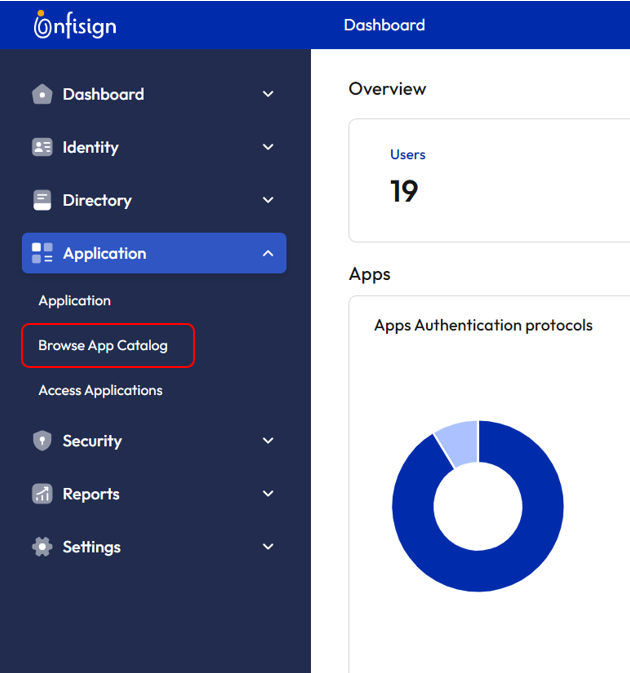
Step 18: Now in the Dashboard Screen, Click on the Application > Browse App Catalog page will direct you to the Browse App Integration Page
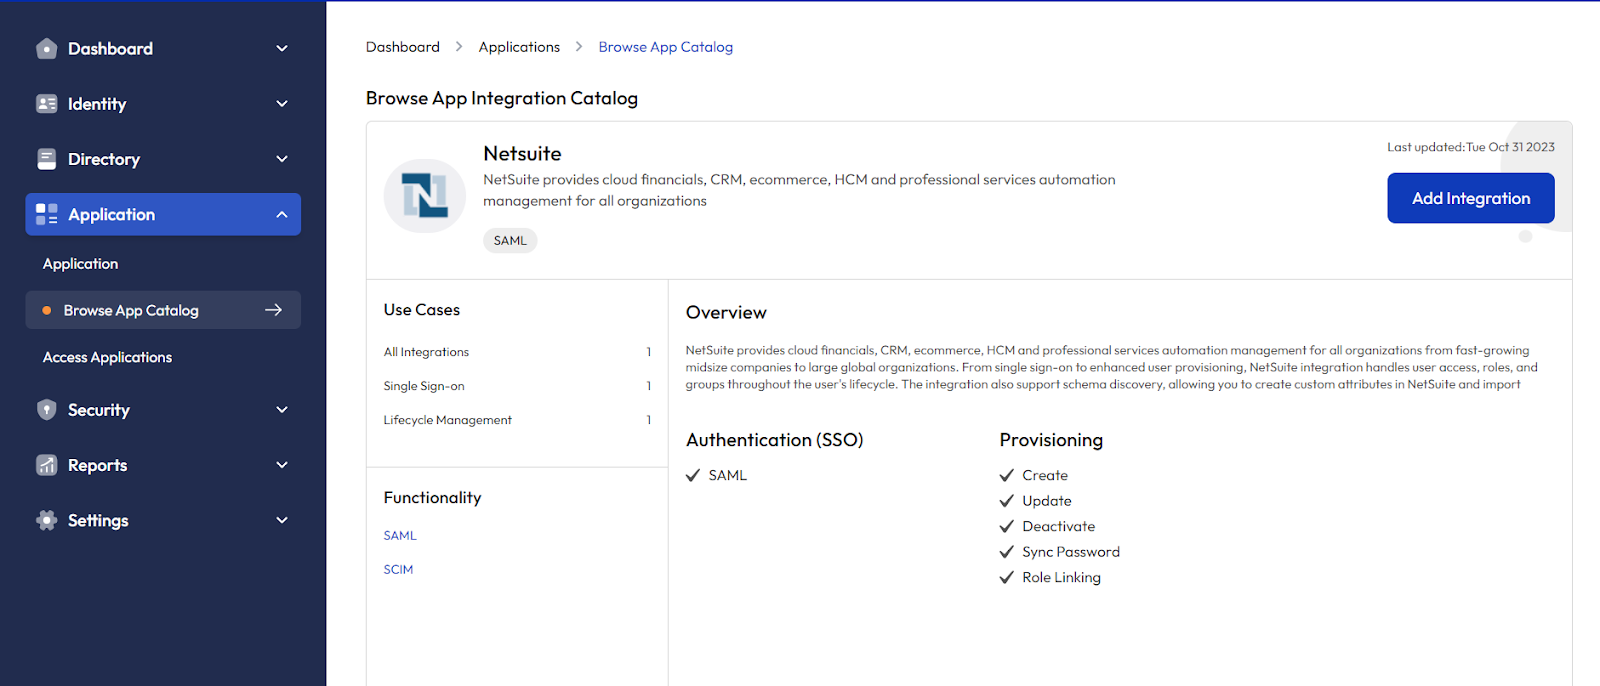
Step 19: Click on Netsuite to proceed with the Application Integration

Step 20: Once Clicked and proceeded, you will be directed to the NetSuite Integration page here click the “Add Integration” button to proceed
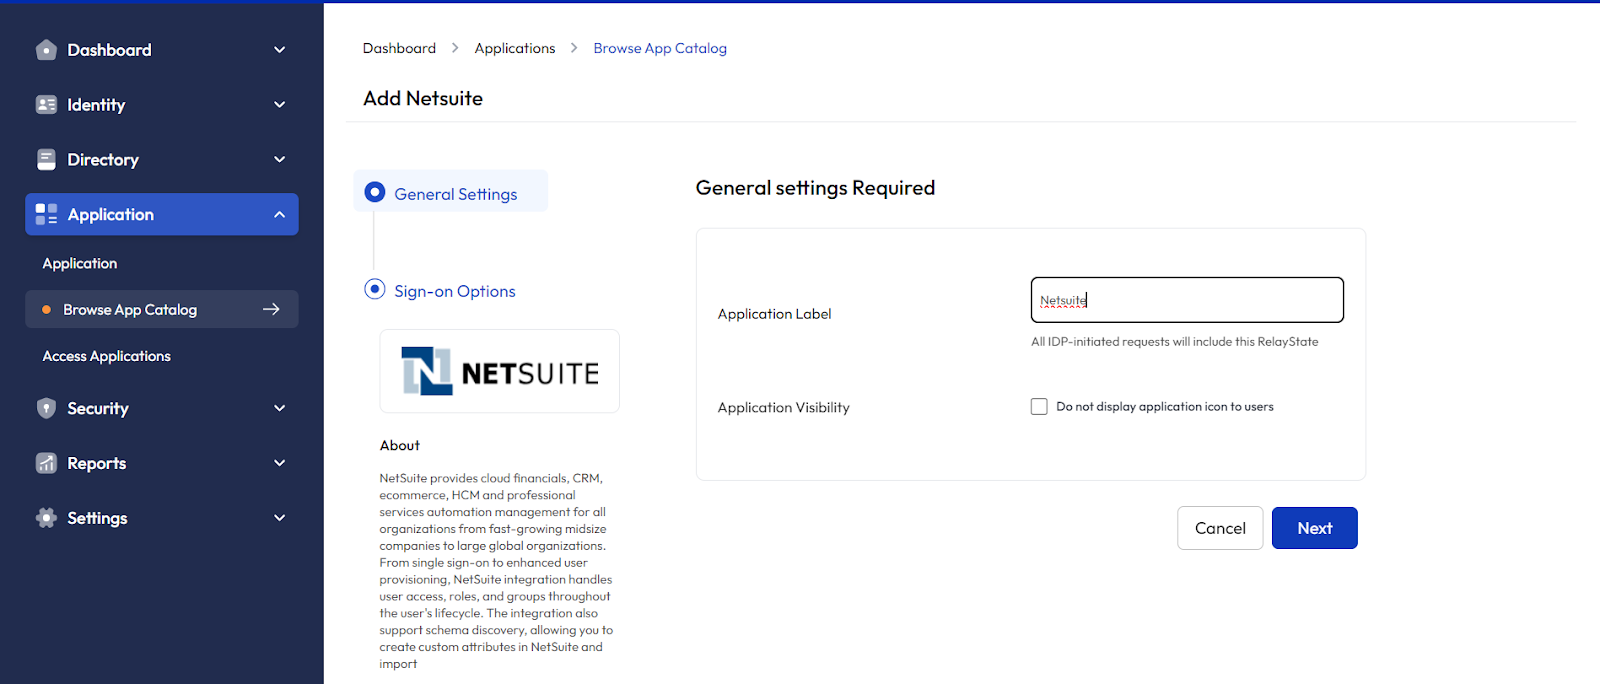
Step 21: Enter the Application Label Name and Click Next. This will direct you to the Sign-on option page
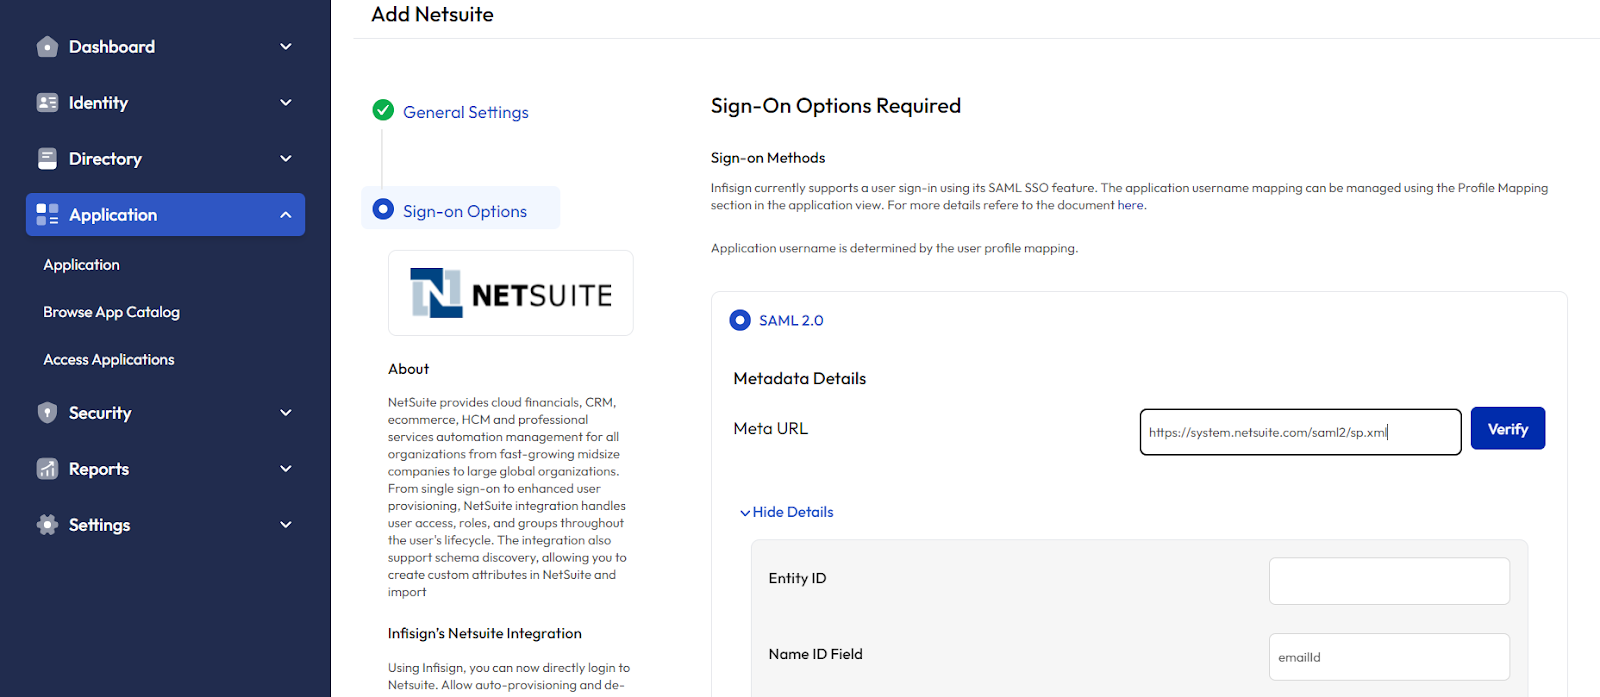
Step 22: In the Sign On Options page enter “https://system.netsuite.com/saml2/sp.xml” as Meta URL and click the Verify button.
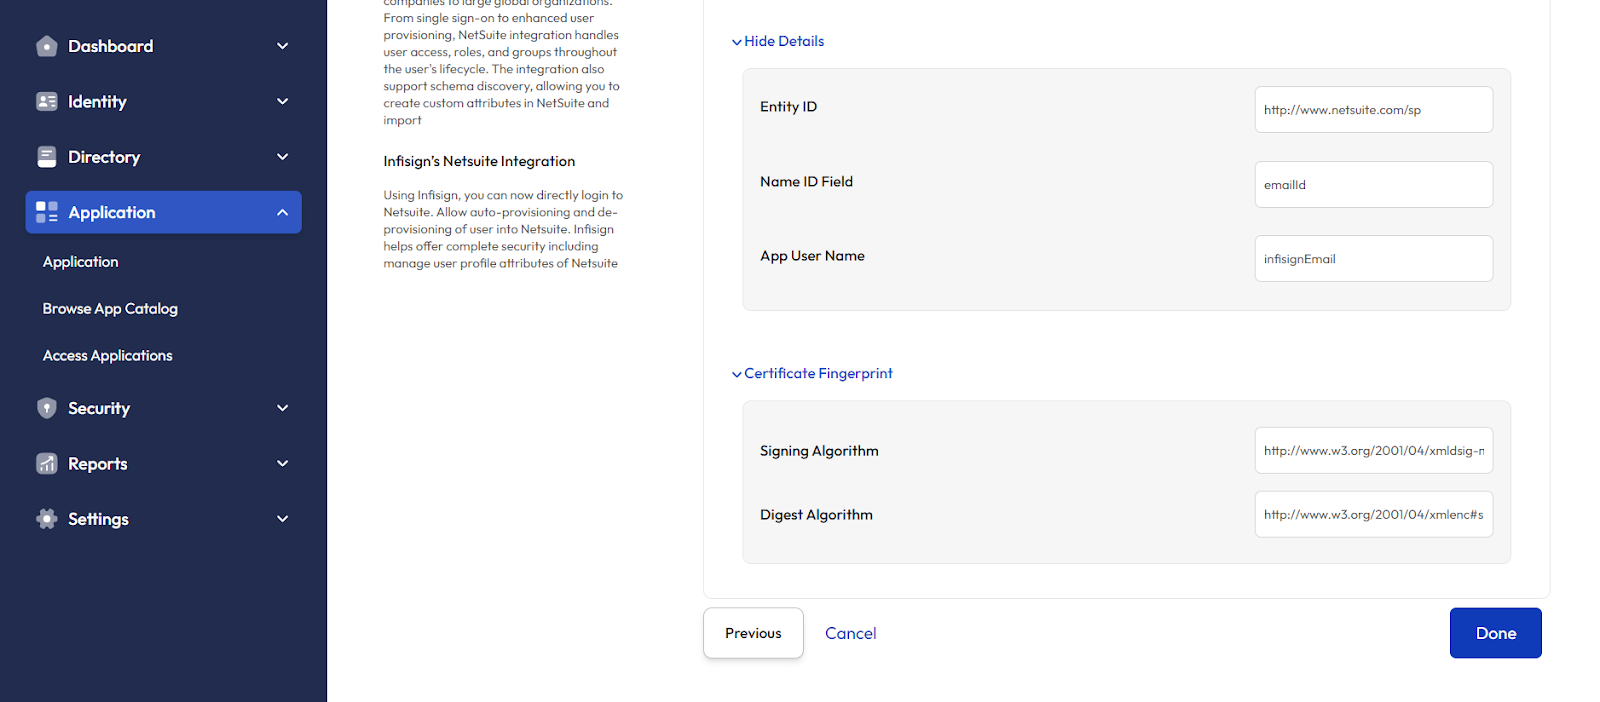
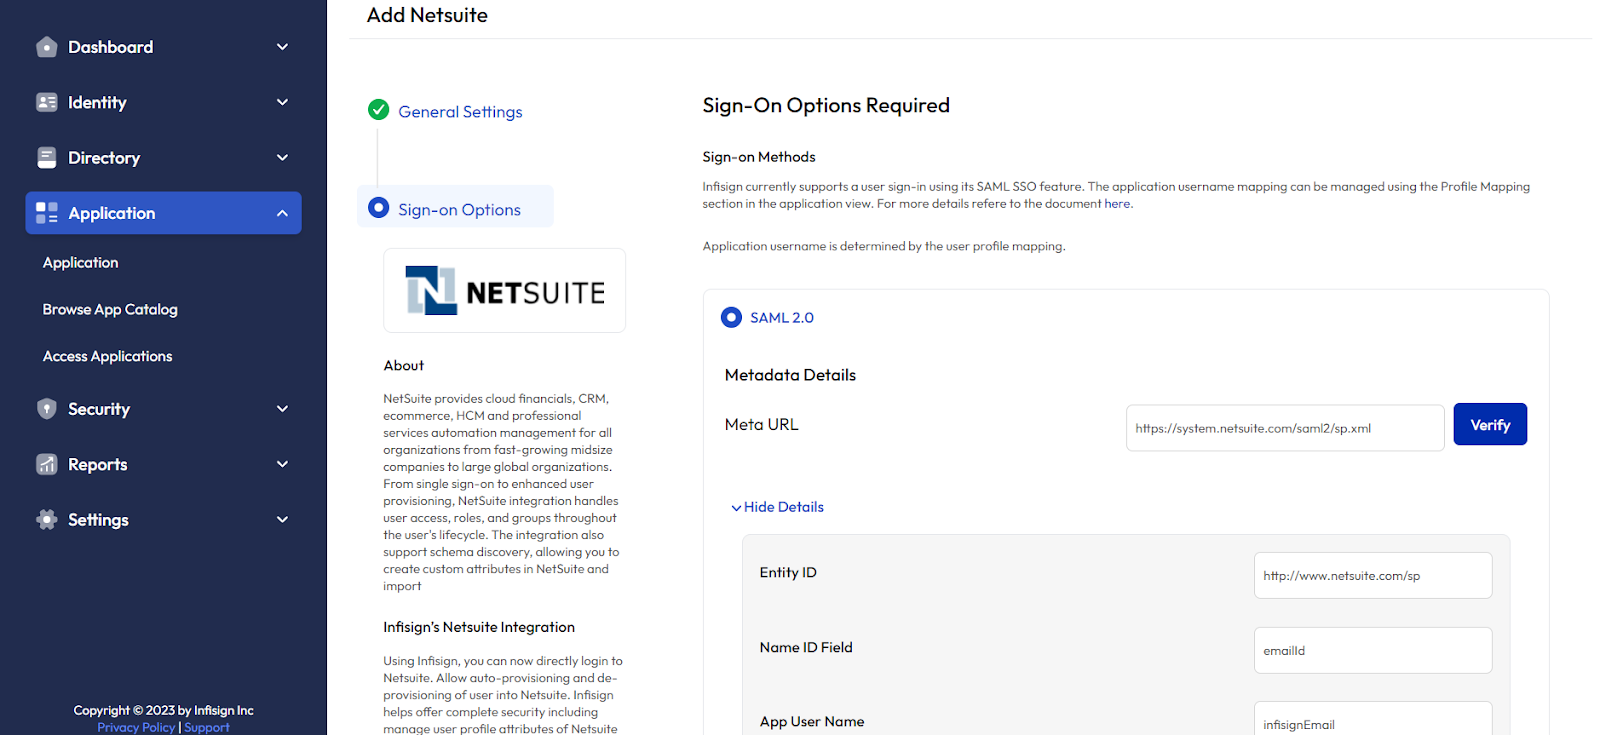
Step 23: Once Verified the EntityID will be automatically prefilled
Step 24: Click Done, Now your Application will be configured in Infisign Portal